
How to Set Up the Administration Panel
Customize the CRM identity, currency, date format, and basic appearance before adding users and starting operations.
-
Step 1
Open General Settings
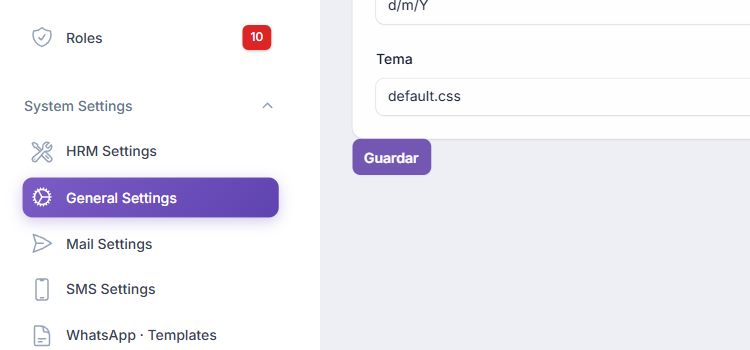
In the sidebar, open «System Settings» and select «General Settings». This section gathers the basic customization of the instance.
-
Step 2
Define CRM Identity
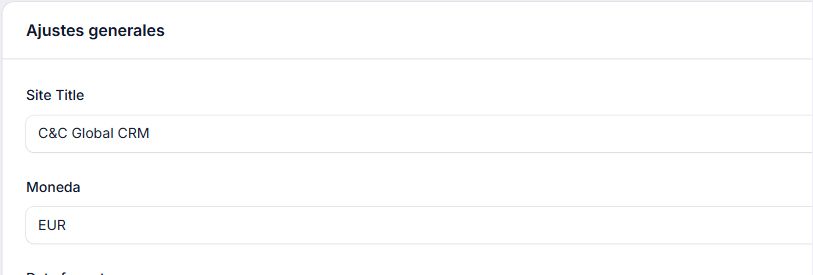
Enter the name that should be displayed as the site title. Upload the company logo and review the «Developed by» field. Use a clear image, preferably in PNG format with a transparent background.
-
Step 3
Configure Currency
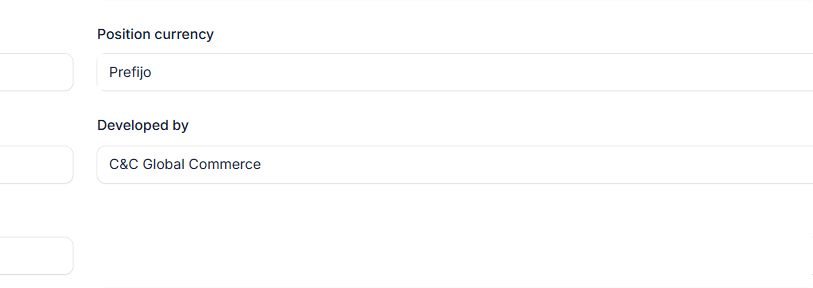
Indicate the currency code used in the operation, for example EUR or USD. In «Currency Position», decide if the symbol or code will appear before the amount as a prefix or after as a suffix.
-
Step 4
Select Date Format and Theme
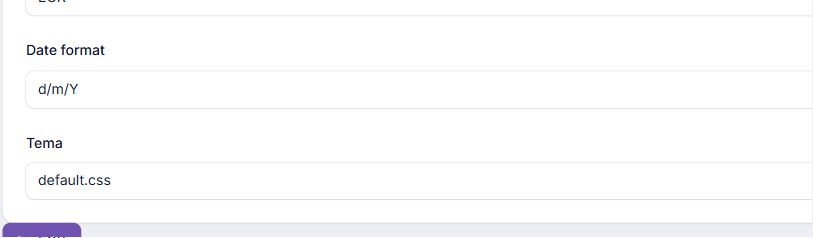
Define the date format that the team will use. For Spain, «d/m/Y» can be used. Keep the company's theme configured unless there is a validated stylesheet to replace it.
-
Step 5
Save and Check Configuration
Review all the values and click «Save». Check that the name, currency, and dates appear correctly in the panel before configuring teams, products, and users.
Perform this configuration before creating products, users, or leads. Use consistent values with the company and check the result before continuing with the rest of the modules.