
How to Configure WhatsApp Cloud API in the Admin Panel
Connect a WhatsApp Business number to the CRM, register the Meta identifiers, and activate the configuration securely.
-
Step 1
Open WhatsApp Configuration
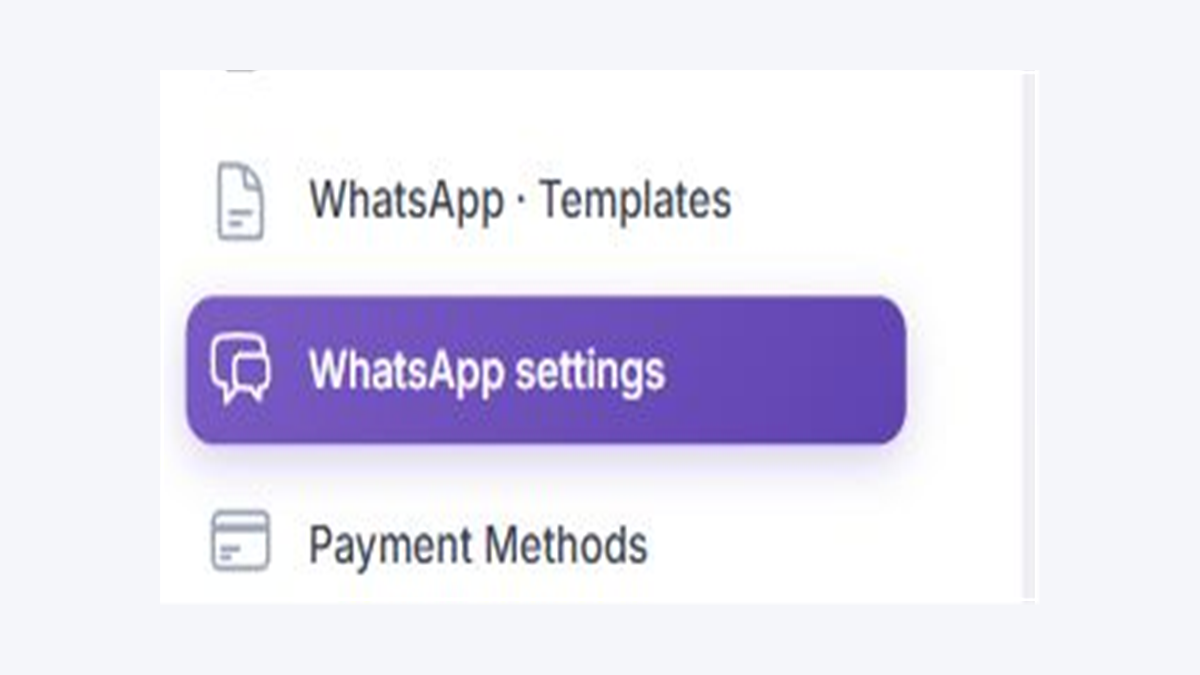
In "System Settings", open "WhatsApp settings". This page centralizes the module status and associated configurations for each country or campaign.
-
Step 2
Check Module Status
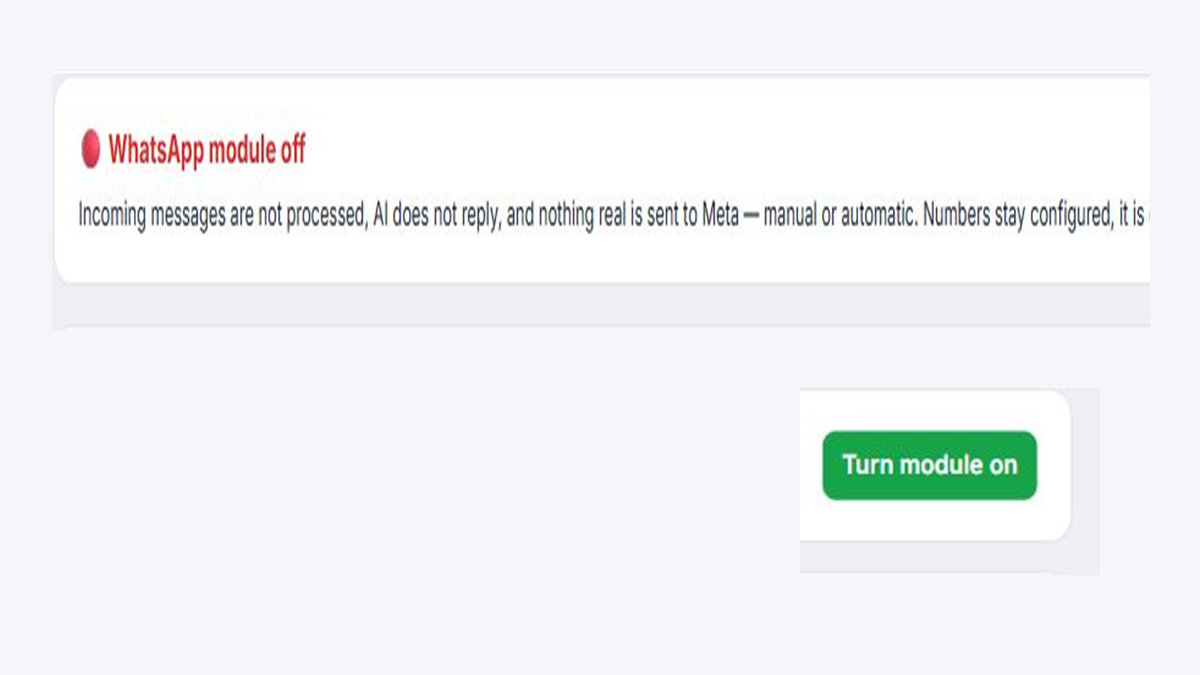
Review the top indicator. While the module is off, no incoming messages will be processed, and no responses will be sent to Meta. Keep it off during initial setup.
-
Step 3
Register the Number and Identifiers
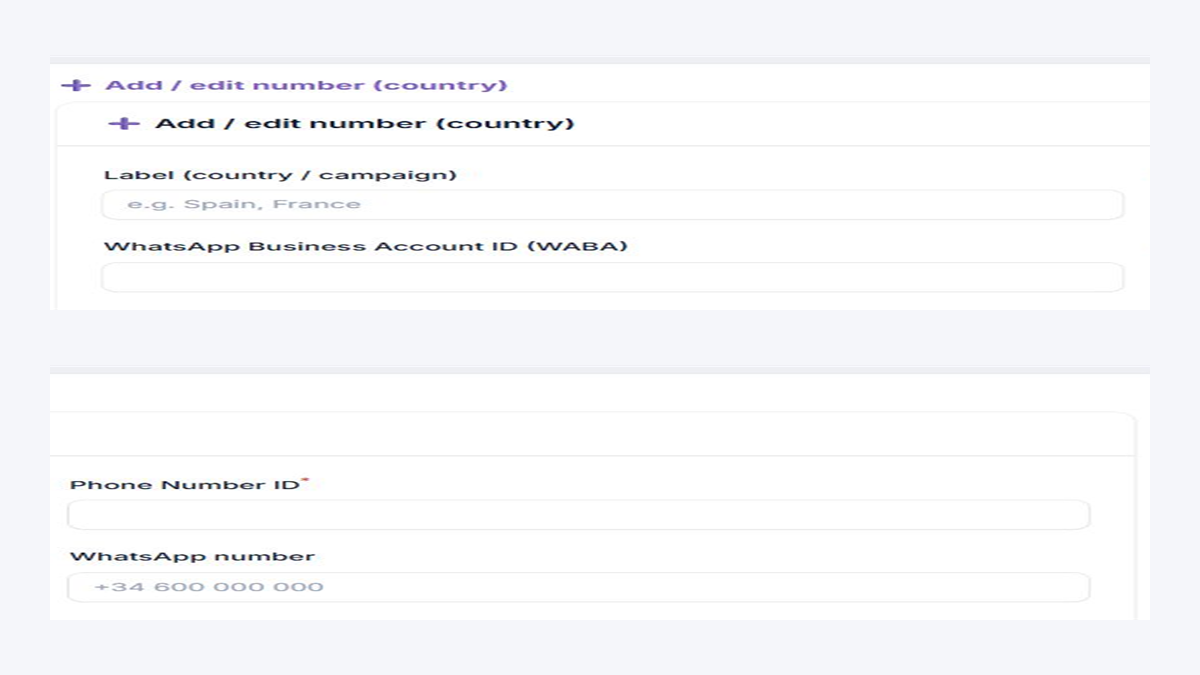
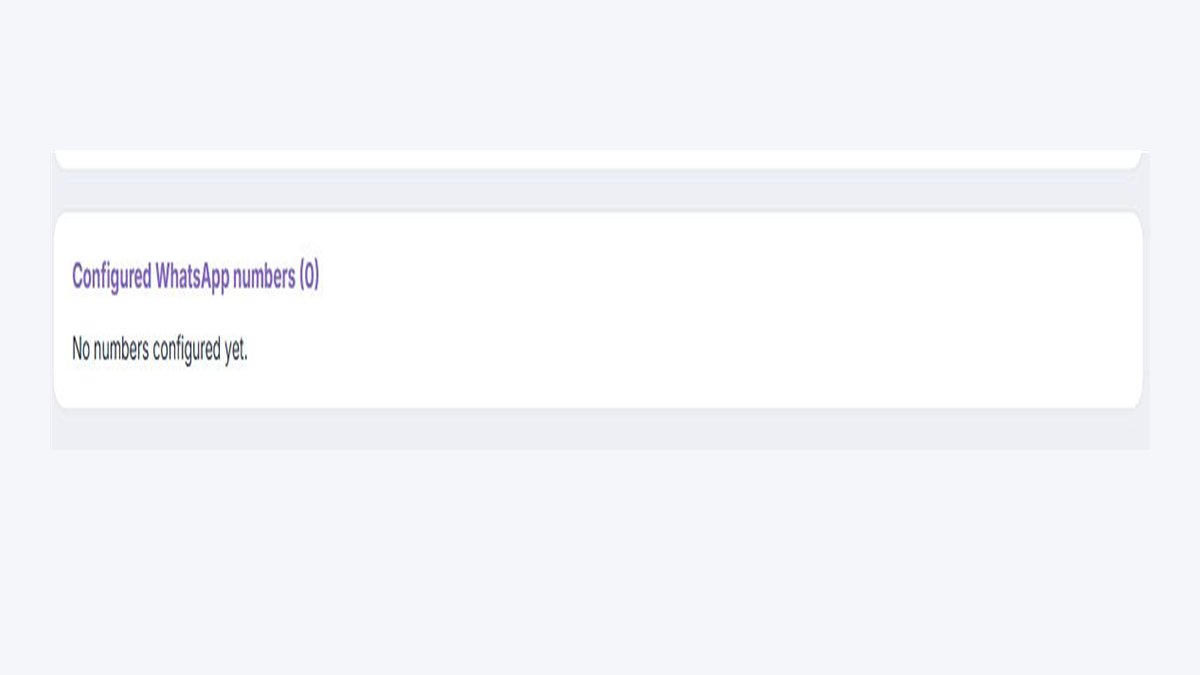
Add a descriptive label and complete the Phone Number ID, WhatsApp Business Account ID, and commercial number. Use a separate configuration for each country or campaign when appropriate.
-
Step 4
Add Credentials Securely
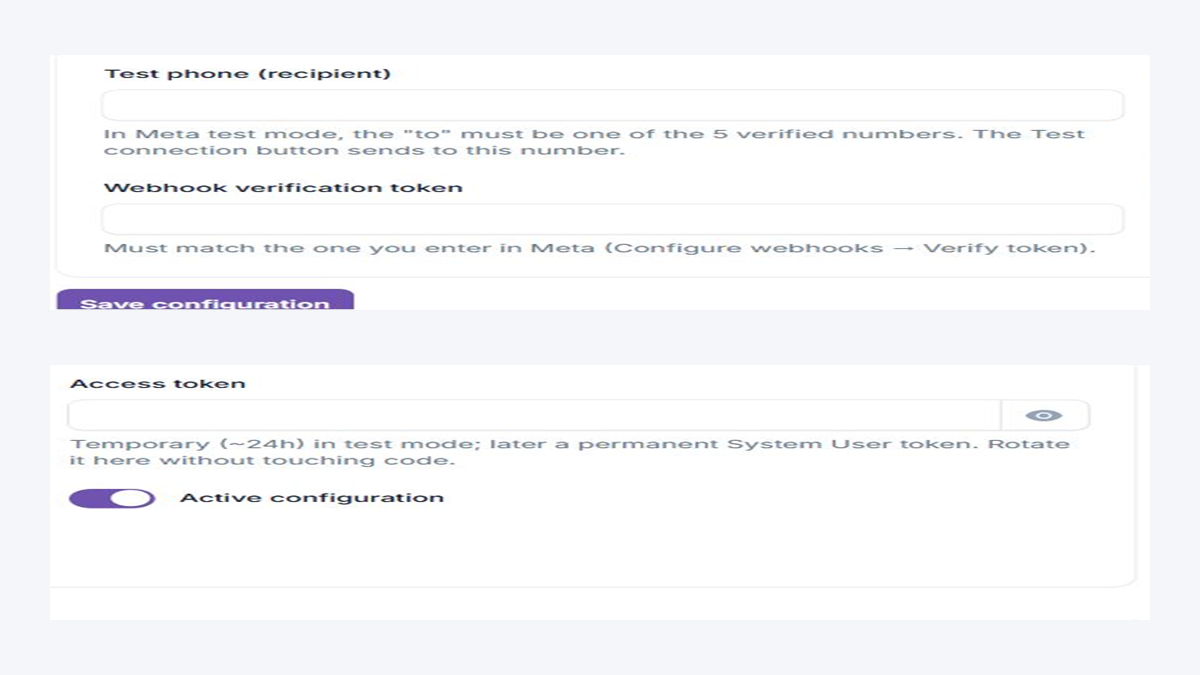
Indicate a verified phone for testing, paste the Meta access token, and define a private webhook verification token. Do not show these credentials in screenshots, tickets, or conversations.
-
Step 5
Save, Activate, and Verify
Activate "Active configuration" and click "Save configuration". Verify the webhook in Meta, perform a controlled test, and turn on the module only when the connection works correctly.
Never publish or share the access token or verification token. Use a permanent System User token in production and rotate it immediately if you suspect it has been exposed.